1.下载yar(开源地址https://github.com/laruence/yar)
wget http://pecl.php.net/get/yar-2.2.1.tgz
2.解压
tar -zxvf yar-2.2.1.tgz
3.进入目录
cd cd yar-2.2.1
4.配置扩展(本人安装环境的宝塔,根据自己的phpize所在位置配置即可,我的在/www/server/php/73/bin/phpize)
/www/server/php/73/bin/phpize
返回:
Configuring for:
PHP Api Version:         20180731
Zend Module Api No:      20180731
Zend Extension Api No:   320180731
配置
./configure --with-php-config=/www/server/php/73/bin/php-config
返回
....
creating libtool
appending configuration tag "CXX" to libtool
configure: creating ./config.status
config.status: creating config.h
配置完成
5.编译
make && make install
最后返回(已经自动添加扩展到php.ini)

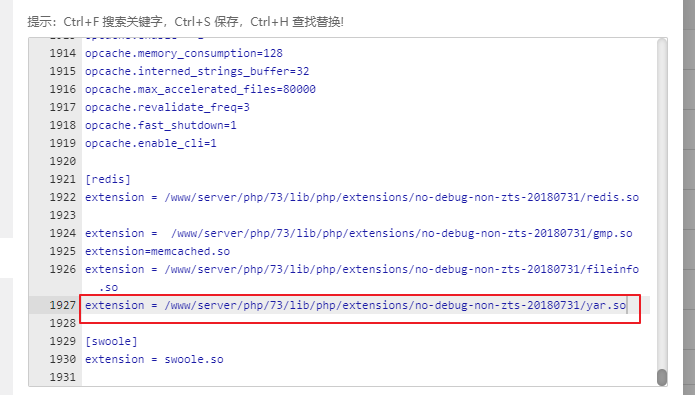
如果在phpinfo没看到yar扩展,那么就手动修改php的配置文件,添加yar.so:
路径就是上面make生成的路径:
extension = /www/server/php/73/lib/php/extensions/no-debug-non-zts-20180731/yar.so
然后保持重启php就行了。

6.查看 (也可通过phpinfo去网页查看,无效请重启php-fpm和nginx)
php -ir
发现下面的yar是enable状态即可

yar

yar support => enabled
Version => 2.2.1

Directive => Local Value => Master Value
yar.connect_timeout => 1000 => 1000
yar.content_type => application/octet-stream => application/octet-stream
yar.debug => Off => Off
yar.expose_info => On => On
yar.packager => php => php
yar.timeout => 5000 => 5000
yar.transport => curl => curl
编写测试服务端server.php
<?php
class server
{
    /*public function __construct()
    {
        if (!extension_loaded('yar')) {
            throw new \Exception('not support rpc service');
        }
        $server = new  \Yar_Server($this);
        $server->handle();
    }*/

    public function test()
    {
        return '806';
    }

    function cc(){

    }
}
//实例化,入参是对象
$server = new Yar_Server(new server());
$server->handle();
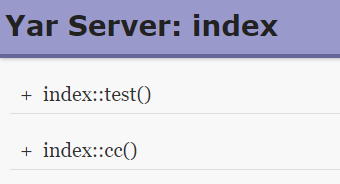
通过url访问返回如下代表成功:

测试客户端index.php
<?php
error_reporting(E_ALL);
ini_set('display_errors','on');
//传入服务端文件路径
$client = new \Yar_Client('http://192.168.10.10:806/server.php');
print_r($client->test());//返回806
到此安装和测试完成。
官网文档:https://www.php.net/manual/zh/book.yar.php